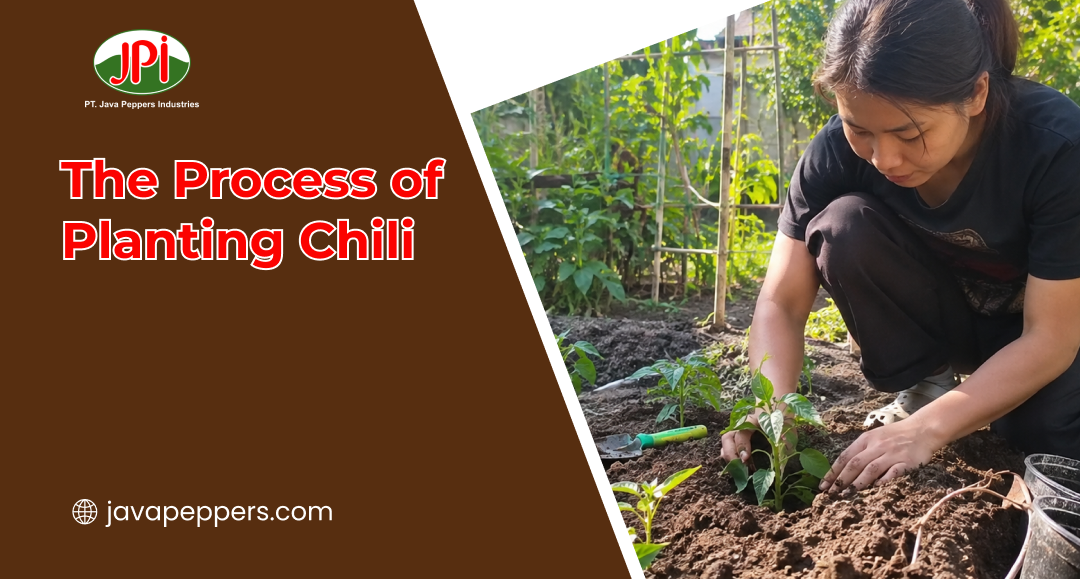
Chili Planting Process – This year, gardeners everywhere caught spice fever for a good reason. The National Garden Bureau officially named 2026 the Year of the Hot Pepper. Suddenly, everyone wants to know the real chili planting process from start to finish. So, this article breaks that process down into simple, doable steps. Whether you’re a total beginner or a returning gardener, these tips will help. By the end, you’ll know exactly how to plant chili the right way.
Preparation and Seeds Needed Before Planting Chili
preparation_and_seeds_needed_before_planting_chili
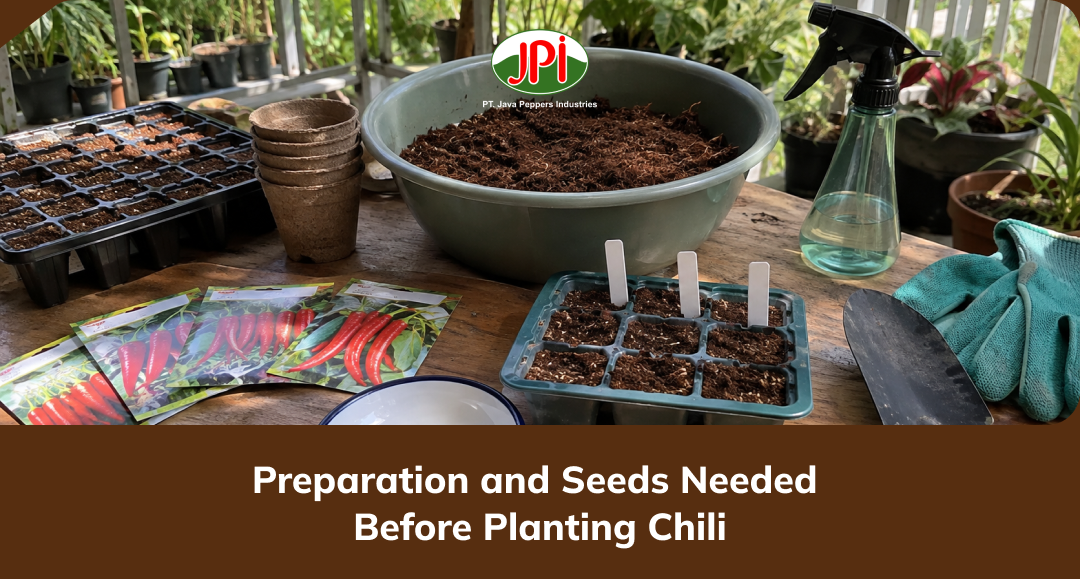
First, let’s cover everything you need before your seeds even hit soil.
1. Choose the Right Chili Variety
To start, pick a variety that matches your climate and taste. Mild types like Anaheim suit beginners who want gentle heat. Meanwhile, habaneros and ghost peppers suit heat-seekers with patience. Either way, your choice shapes the entire growing timeline ahead.
2. Pick Quality Seeds
Next, always choose fresh, high-quality seeds from a trusted source. Old or poorly stored seeds often germinate at much lower rates. Therefore, check the packing date before buying any seed packet. Good seeds set the foundation for a strong, healthy plant.
3. Prepare the Soil
Meanwhile, chili plants thrive in loose, well-draining, nutrient-rich soil. Mix in compost or aged manure to boost fertility beforehand. Additionally, aim for a slightly acidic soil pH around 6 to 6.8. This preparation gives young roots the best possible start.
4. Gather Basic Tools
Before planting, gather seed trays, a heat mat, and grow lights. A spray bottle also helps keep young seedlings evenly moist. Furthermore, a small trowel makes transplanting seedlings much easier later. With these tools ready, you’ll avoid scrambling mid-process.
5. Check Your Climate and Timing
Importantly, chili peppers hate cold and need a long growing season. So, check your last frost date before planning anything else. Typically, gardeners start seeds indoors six to eight weeks before that date. This timing ensures your plants mature before cold weather returns.
The Chili Planting Process: A Step-by-Step Guide to Success
step_by_step_guide_to_planting_chili_successfully
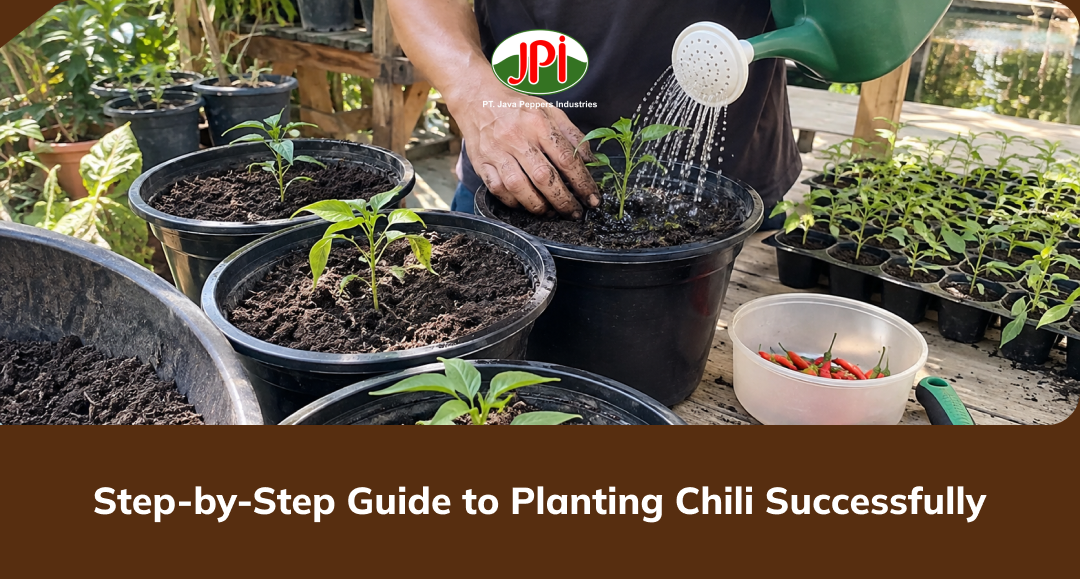
Now, let’s walk through the actual chili planting process step by step.
1. Start Seeds Indoors
First, sow seeds about a quarter-inch deep in seed trays. Then, place trays on a heat mat for steady warmth. Consistently, keep the soil moist but never completely soggy. Within one to three weeks, tiny seedlings should start popping up.
2. Give Seedlings Enough Light
Once seedlings emerge, move them under bright grow lights immediately. Otherwise, weak light causes seedlings to grow tall and leggy. Aim for at least fourteen hours of light daily for strength. Strong light now means stronger stems and leaves later.
3. Harden Off Before Transplanting
Before moving plants outside, harden them off gradually over one week. Each day, set seedlings outside for a little longer than before. Gradually, this process toughens leaves against wind, sun, and temperature swings. Skipping this step often shocks tender young plants badly.
4. Transplant Into the Garden
After the last frost, transplant seedlings into your prepared garden bed. Space plants roughly eighteen to twenty-four inches apart for airflow. Gently, firm the soil around each stem after transplanting. This spacing prevents disease and gives roots room to spread.
5. Water and Feed After Planting
Immediately after transplanting, water each plant deeply and thoroughly. Afterward, apply a balanced starter fertilizer to support new roots. For the first week, check soil moisture daily as roots settle. This early care sets the tone for the entire season.
Tips to Grow Healthy Chili Plants from Scratch
tips_to_grow_healthy_chili_plants_from_scratch
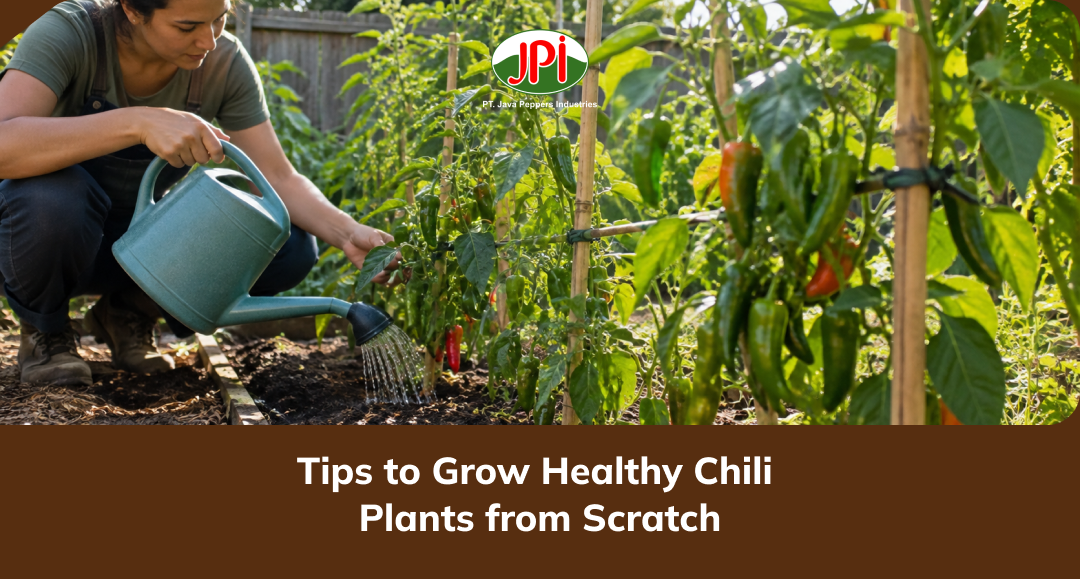
Finally, here’s how to keep your chili plants thriving long-term.
1. Water Consistently, Not Excessively
Consistently, chili plants prefer steady moisture over occasional heavy soaking. Overwatering often causes root rot and yellowing leaves quickly. Instead, water deeply whenever the top inch of soil dries out. This balance keeps roots healthy without drowning them.
2. Give Plants Full Sun
Chili peppers absolutely need six to eight hours of direct sun. Without enough sunlight, plants grow weak and produce fewer peppers. So, choose the sunniest spot available in your garden or patio. More sunlight almost always means a bigger, spicier harvest.
3. Watch for Pests and Disease
Regularly, inspect leaves for aphids, spider mites, or fungal spots. Early detection makes treatment much easier and far less stressful. If pests appear, try neem oil or insecticidal soap first. Staying alert now prevents bigger problems later in the season.
4. Support Growth With Fertilizer
Every few weeks, feed plants with a balanced, phosphorus-rich fertilizer. This nutrient boost encourages more flowers and, eventually, more peppers. However, avoid excess nitrogen, which grows leaves instead of fruit. Balanced feeding keeps energy focused where you actually want it.
5. Prune and Harvest Regularly
Periodically, pinch off early flower buds to strengthen the plant first. Later, harvest peppers regularly to encourage continuous new growth. Additionally, use scissors instead of pulling pods off by hand. Regular harvesting keeps plants productive throughout the entire season.
Read More : Easy & Delicious Stuffed Cherry Peppers Recipe

Conclusion
Ultimately, the chili planting process isn’t complicated once you break it down. From choosing seeds to daily care, each step builds on the last. So, grab your seed trays, and start this rewarding process today.